Today was spent fitting the lights, now the car really starts looking like a Caterham!
 |
| Crimp type bullet connector used instead, not sure about the blue though. Nice toes... |
First off was the number plate light (see above), a simple task, the wire provided was way more than needed, so it was cut down to size. We're thinking that in the future of converting to LEDs, so left a little extra for re-wiring, if required. The only problem we had was that the bullet connector provided turned out to be a solder not a crimp-type (against what the Assembly Guide said), so split when I tried to squeeze it together. Fortunately I had some in my aero-modelling toolbox - potential disaster averted - however the blue insulation is somewhat conspicuous.
 |
| Pre-drilled 30mm hole (wiring) and a 4mm hole for the mounting screws. |
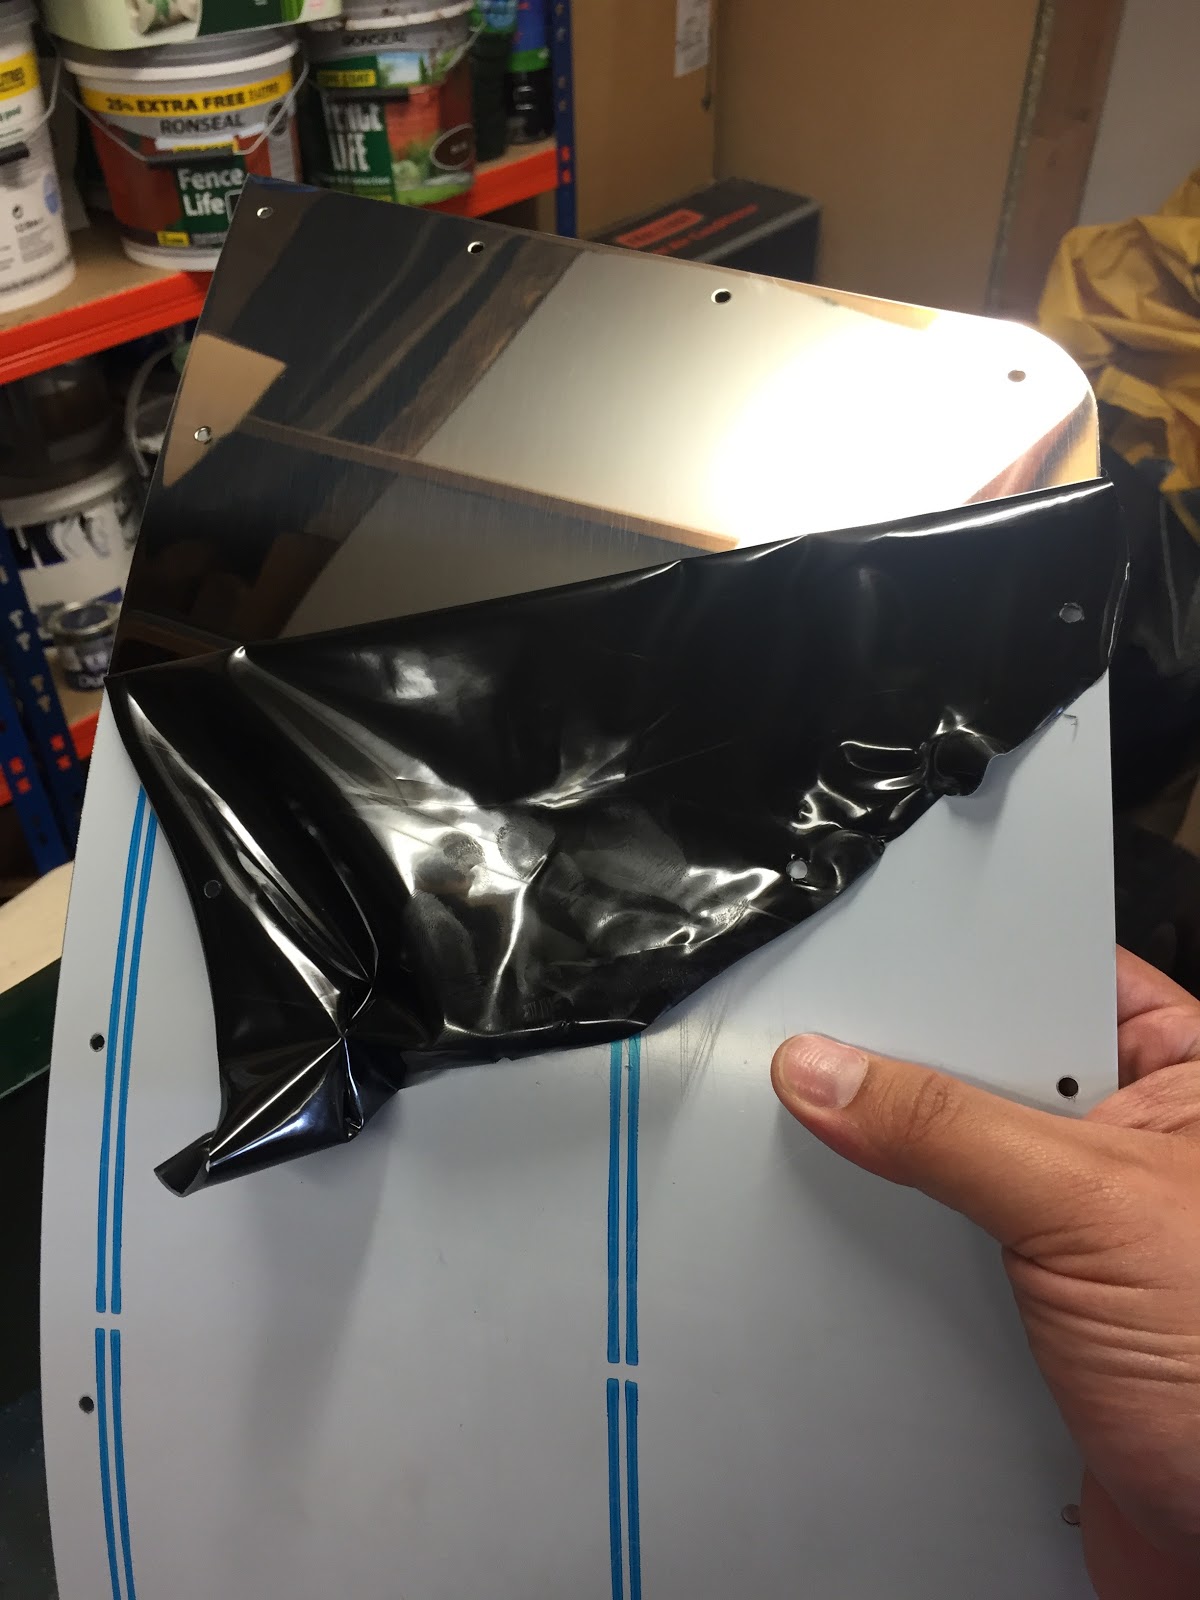
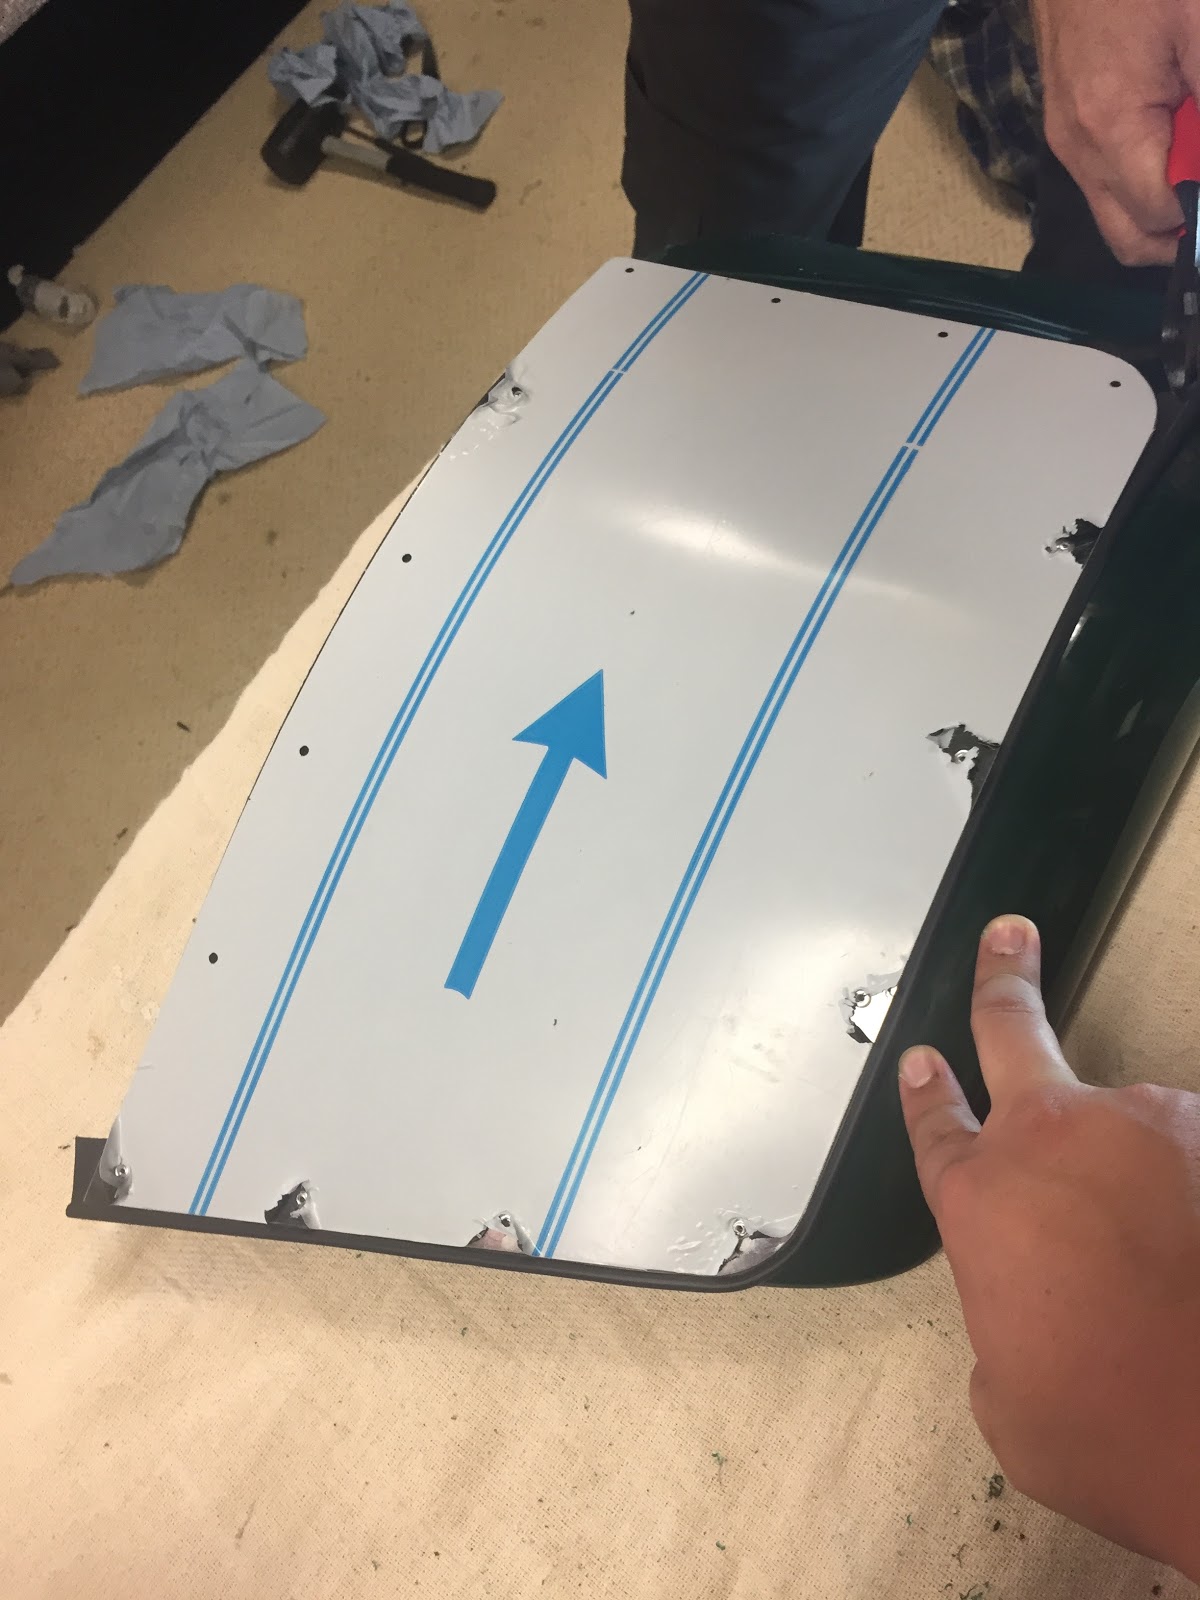
Next up was the rear lights, again a relatively simple task. The rear wings come pre-drilled with a 30mm hole and one of the four 4mm holes required to mount the rear light assemblies (above), we used a screw to attach the assembly and a spirit level to make sure everything was level.
 |
| Mounting the left hand rear light assembly using the provided self-tapping screws. Not our first choice... |
Then it was a case of drilling the other 3 holes and screwing them in
(above). We have to say that the use of self tapping screws was not our
first choice, they're a little crude and it cracks the fibreglass. Also,
it makes a horrible cracking noise when you tighten them, we would have
much preferred to have used bolts. We may come back and revisit this once the IVA is complete.
 |
| Rear lights fitted. |
The front lights and indicators were relatively straightforward also, first off you have to add IVA strip around the mounting cone then mount the indicators to them, see below.
 |
| Front indicator and mounting cone. Note the IVA strip. |
Next up it was taking the front lens off the light and getting to the headlight bowl (see below).
 |
| Front lens assembly and headlight bowl. |
This was so that after you pass the headlight mounting stud through the indicator cone and into the headlight bracket you can then pass the black indicator earth wire back up inside the thread and mount it inside the headlight bowl. And breathe, gottit?
 |
| The black indicator earthing wire heading up the thread to mount inside the headlight bowl. |
This was repeated for both sides and a big part of the car's identity had started to come together; it started to look like a Caterham!
 |
| Front lights fitted, big part of the car's identity! |
The wiring for the headlights and indicators pass through a hole into the headlight mounting bracket and reappears inside the body, where it is connected to the loom via a connector block. Routing the wiring though this hole was somewhat fiddly to achieve. We inserted the individual wires into the connector block later, as we had to include the wiring for the repeater lights (on the cycle wings).
 |
| Wiring from the repeater into the cycle wing support, note the heat-shrink. |
The repeater light wiring was a bit of a bugger to route into the car, the holes were quite small in the cycle wing supports (above) and getting the connector out near the brace was a bit of pain, to say the least (see below). Part of the problem was of our own making; we chose to lengthen the earth wire and mount it inside the chassis, rather than on the wing-stays themselves, meaning that the space available inside the tube was reduced, however we feel that the extra time spent was worth it.
 |
| Bit of a pain getting the wiring out of the hole in the cycle wing support. Note the lengthened earth wire. |
This was then shrouded in heat-shrink and routed around the back of the top wishbone, as per the Assembly Guide (see below)
 |
| Repeater wiring shrouded in heat-shrink and cable tied to top wishbone. |
For mounting the lengthened earth wire inside the body there are a couple of positions that work very well, (see the next two photos below), both are threaded holes, making attachment easy and are natural earthing points. For the left side we used the brake line T-piece and the right side
we used the corresponding hole (I'm guessing it's used for the same
purpose when the car is left hand drive) - indeed the left hand side already had other earthing wires attached to the bolt.
 |
| Left hand repeater earth (red insulation) mounting point, on the brake line T-piece. |
Now that all the ingredients were in place we were then able to fully wire the connector block to the loom. The problem we had was that the various colours of wire were of differing lengths, particularly the green indicator and repeater wires, namely because they were coming from different locations to the headlight bunch. This presented some problems with packaging and wrapping them together, particularly on the right side.
 |
Right hand lighting connector block, caution over the position of the various wire colours!
Note the earth wire mounted to the chassis. |
When clipping the connections into the connector block the manual was helpful with
the various colours of wire (with some small differences, depending on the side of the car) and their function. Crucially, what we did was to note down the positions of
those wires from the loom into that connector block, so that they would obviously match with those on the lighting side.
With the lighting hurdle now completed we're turning our attention to some of the incomplete and outstanding jobs, such as the shoulder harnesses and the boot cover, as well as the lambda sensor wiring attachment to the chassis. Until next time...