Today we spent a very long time fitting stone-guards and the rear wings to the body. They're pieces that show, so we wanted to spend the time getting them right.
 |
| Holes punched and cut out in the P-seal. Note the pre-drilled holes |
Fortunately the holes on the rear wings had been pre-drilled, we test fitted both sides and also the rubber P-type seal. We then marked the holes with marker pen to then punch out using a leather punch (The Assembly Guide says you can cut out slots, but we thought it would be more prone to splitting), see above.
 |
| Holes enlarged in rear wings for Watt linkages/Radius arms |
It was also suggested in the Assembly Guide to again cut slots in the fibreglass for the radius arms/Watts linkages, however we had some concerns over the potential rigidity and cracking of the fibreglass in the future. Therefore we chose to enlarge both holes, in case we upgrade to Watts linkages in the future (see above).
 |
| Stainless mudguards |
Next was fitting the stone-guards (above); they come out of the box flat but we needed to bend them to shape, so that we didn't put stress on the rear wings. But what to use? How about a gas cylinder? It's the right sort of radius and left the stone-guards a nice shape!
 |
| Gas cylinder, ideal for shaping the stone guards! |
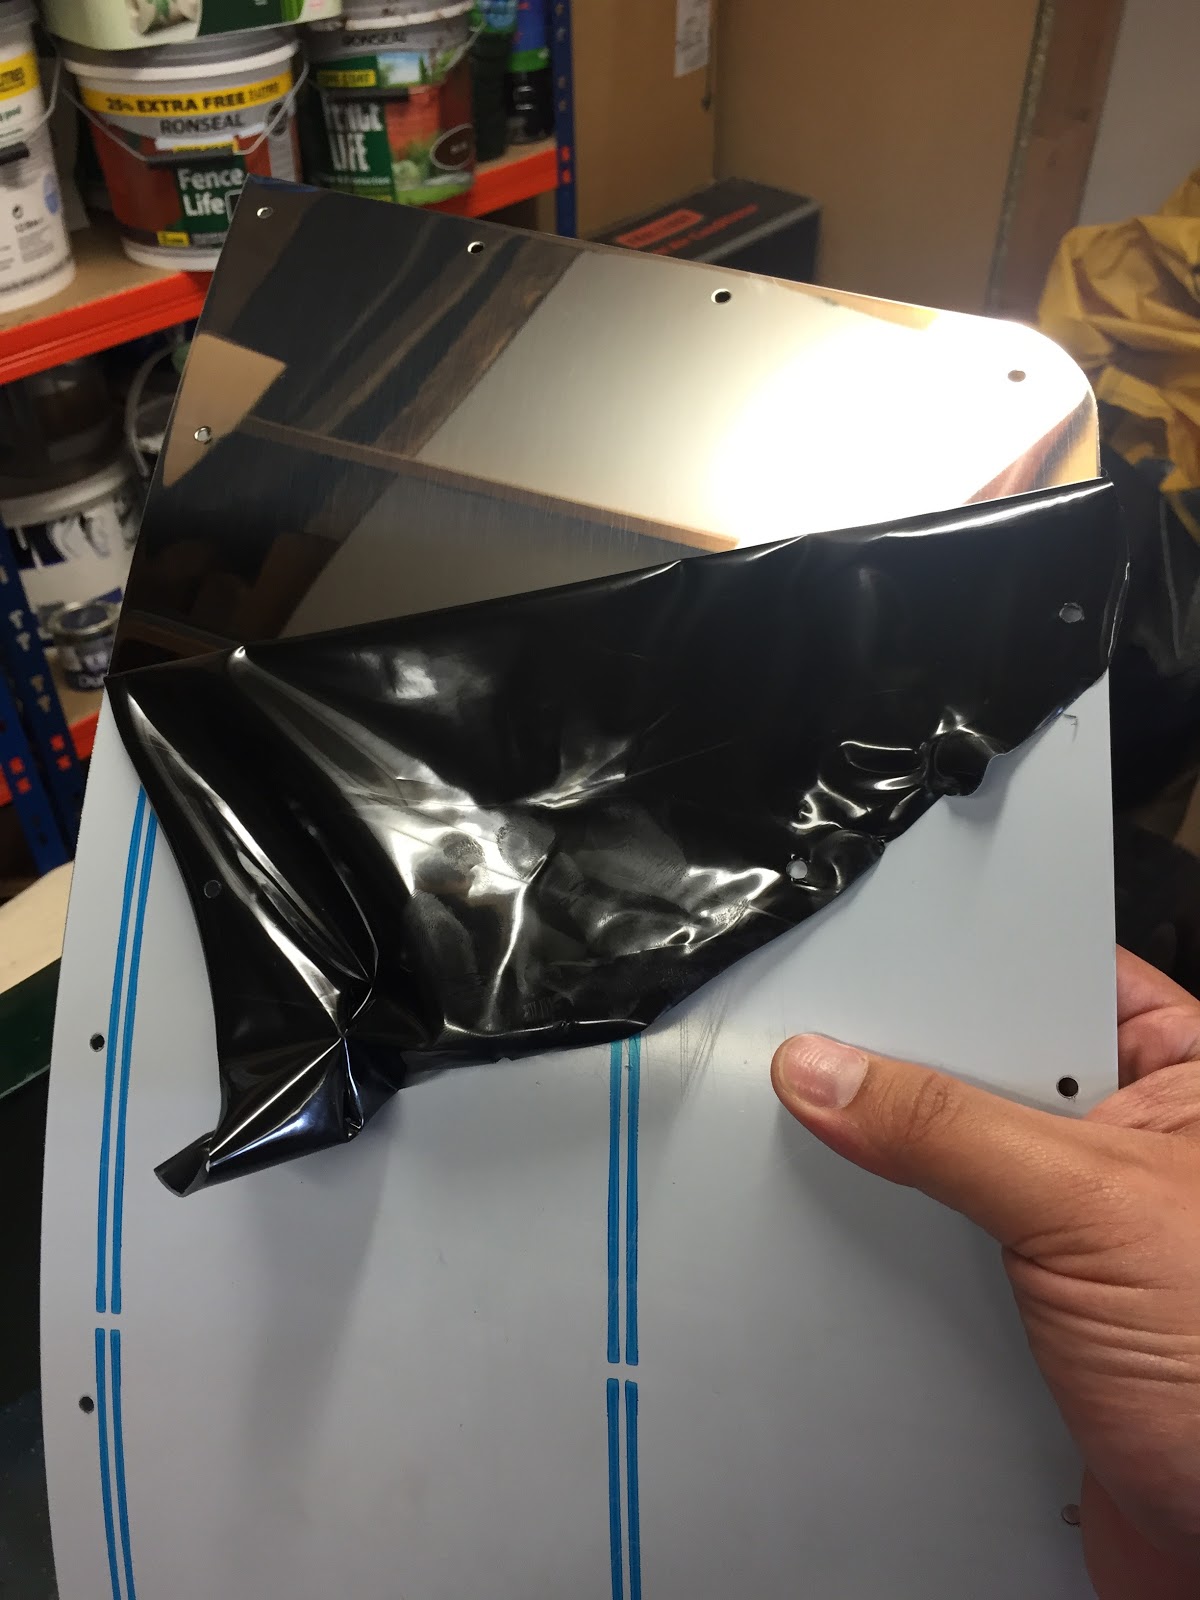
The P-seal was then taped to the back of
the stone-guards, so that the sections around the corners that had
folded up could be cut out (see below).
 |
| Tape holding the seal to the back of the stone-guards, helps cut out the corners. |
Once we had all the parts ready we could start drilling and riveting the stone-guards to the rear wings. We weren't happy just riveting straight into the fibreglass as the rivet could just pull though the hole, as GRP is not a particularly hard material, meaning it could crack and eventually work its way loose. We bought some 1/8" rivet washers (oversized to spread the squeezing force over a wider area, thus reducing the chance of cracking), see below.
 |
| 1/8" rivet washers. |
Drilling and riveting was a simple enough procedure, (see below), however take your time, making sure they are located in the right place on the rear wings. The assembly guide suggests something like 5mm outboard from the edge (due to the round section of the P-seal between the body and the rear wing) and also flush along the bottom, however we adjusted each side 'to look right'.
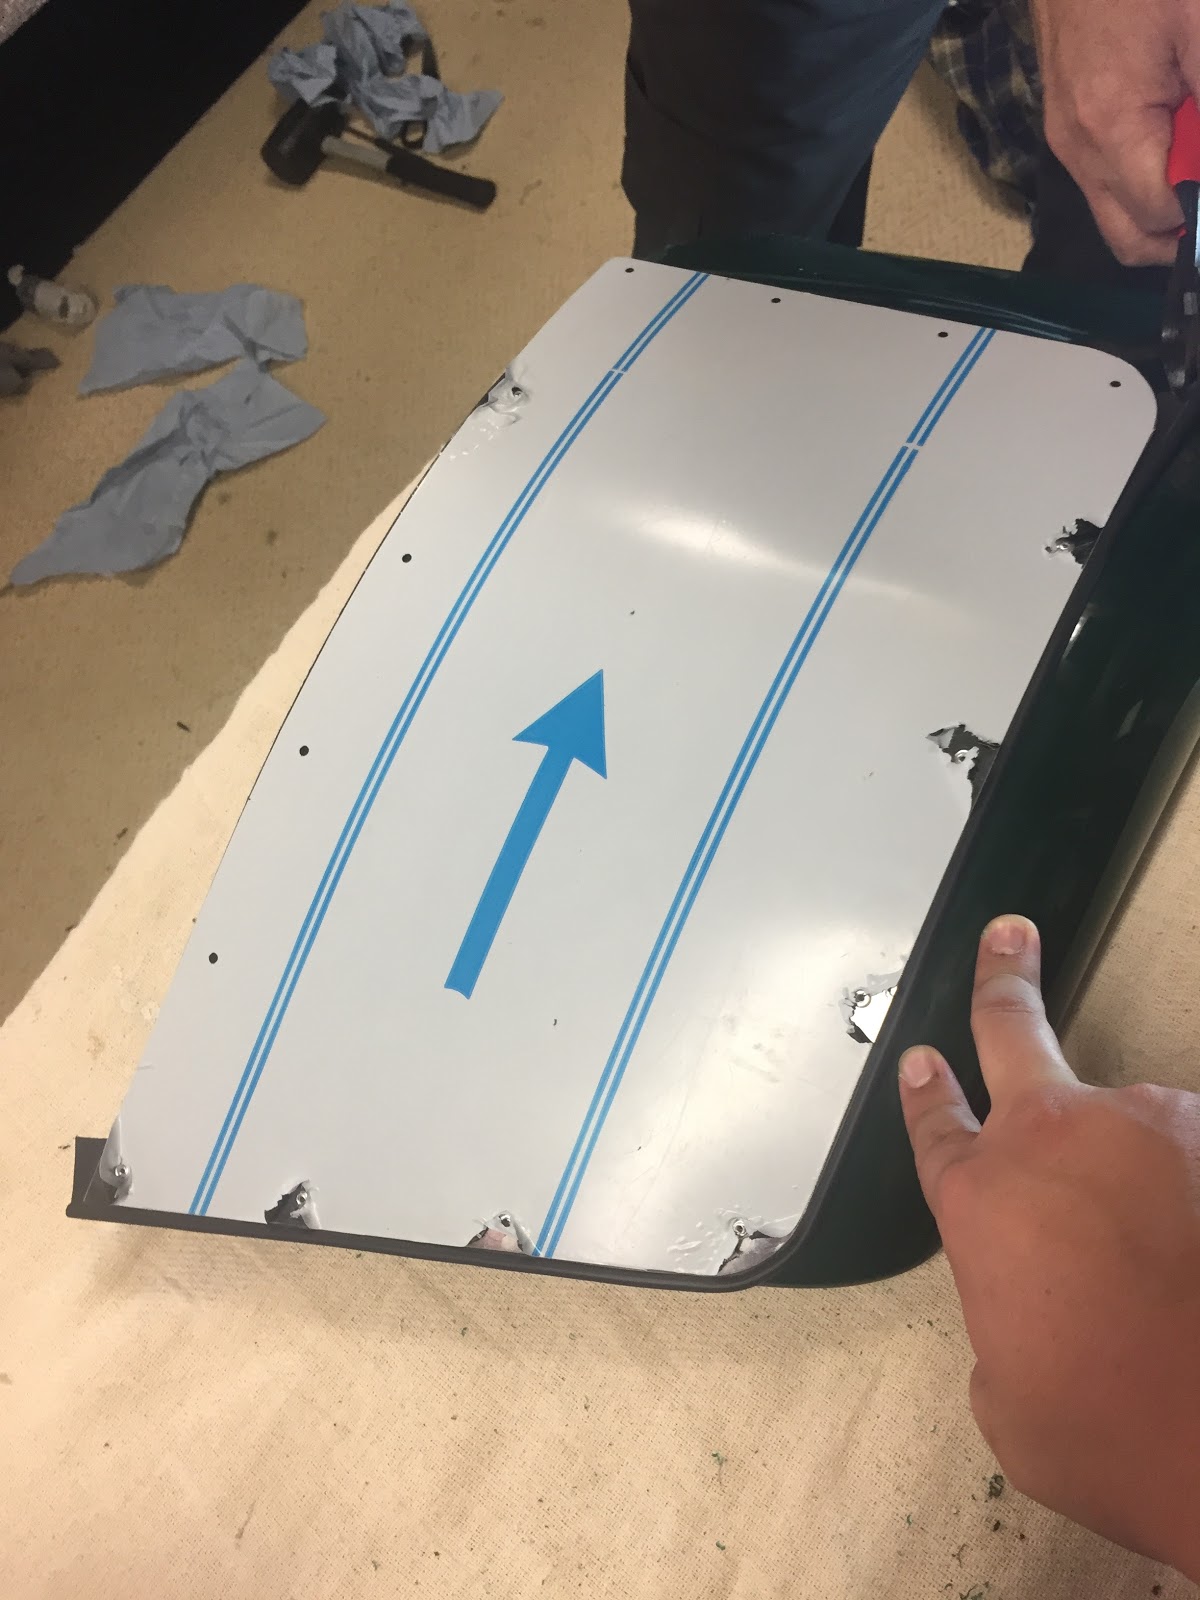 |
| Drilling and riveting the stone guards to the rear wings |
Once this was complete it was time to fit the wings to the body, trying not to over tighten the bolts, again to avoid future cracking of the fibreglass.
 |
| Fitting the wings to the body, note the rivet washers for the stone-guards. |
It's amazing seeing how much wider the car is with them on and how rigid the rear wings have become.


Next time we're going to tackle some of the wiring.
No comments:
Post a Comment