Showing posts with label Washer bottle. Show all posts

Monday, January 18, 2016

Engine and gearbox in! (Build Day 7)

I'm posting this about 10 days after the fact, please excuse the lateness, work has been very busy and haven't had the time to update the blog.

Today was a GOOD day, the Engine and Gearbox is in and fitted to the car!

It took all afternoon but we're pleased everything fit (more or less) however we have some tips for those of you who are reading this who are in the process of building your own Caterham. The manual is quite non-specific/bitty about what you need to do to be able to fit everything, however if you have a Duratec engine (into a SV chassis) we would recommend that you remove the following:
  1. The RH Engine mounting bracket; (i.e. the longer of the two mounts), means you can get past the right hand top rail of the chassis.
  2. Washer bottle; allows the left mount to drop vertically onto the chassis, (you can leave the bracket, easily out of the way).
  3. Alternator; (allows the block to pass by the the left side cruciform on the top of chassis)
 Alternator and belt removed

We spent a little time testing the load leveller (from SGS engineering), seeing what angles we could get out of it. As stated previously, when we pitched the engine up (gearbox down) the engine would roll also, due to the position of the lifting eyes being diagonal on the engine (see below) causing the centre of gravity to not only shifting down the long-axis of the engine but also laterally axis the engine.

 Right, let's get started...

From looking at this blog: http://caterham420r.blogspot.co.uk/ (thanks for the tips chaps!) we also wrapped the gearbox in some bubble wrap (got a big roll from eBay - more useful than you think!), just to protect the transmission tunnel as much possible.

 So far so good!

Ask us why we know why you have to remove the right hand mounting bracket and washer bottle...
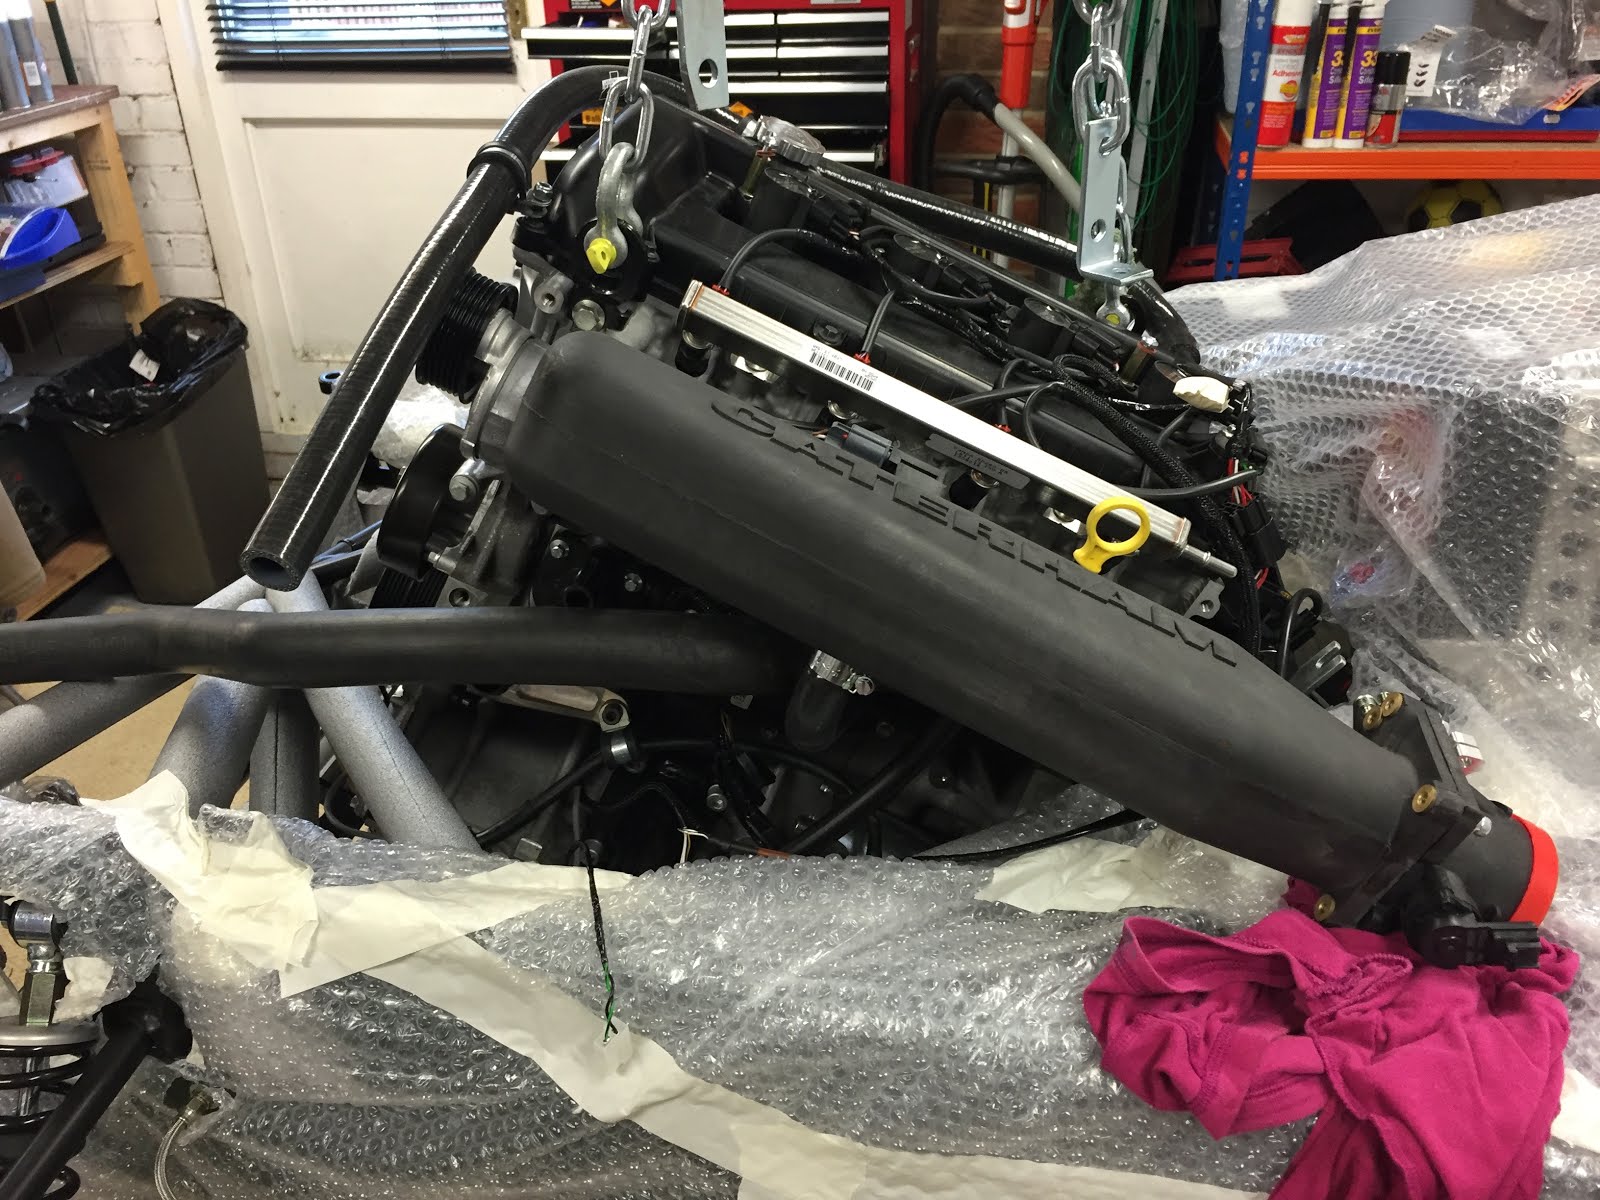
 Using a rag to protect the top of the passenger foot box from the plenum intake.
 View from under the transmission tunnel.
To help pitch/rotate the engine to a level position (in order to align with the chassis mounting rubbers), we used a hydraulic jack and some wood under the gearbox.

 After using the engine crane to help level the engine.
In!

We didn't have the correct set screw or bolts for the chassis cross-member yet, still on their way from Derek, however we found some temporary ones that will do the job in the meantime. There was a lot of 'to me, to you' involved, however we are very pleased with the results.

Here is the obligatory time-lapse video!

Tuesday, January 12, 2016

Engine Bay preparation (Build Days 4 and 5)

I'm writing this a few days after the fact. Days 4 and 5 were very busy so I'm not sure what happened when, as a result I amalgamated this post into one!

Derek called and said the bolts for the front anti-roll bar plus the special nyloc nut were in the post, hopefully they'll arrive tomorrow. However, today was spent preparing the engine bay and getting the necessary systems and ancillary equipment fitted, before access is restricted by the engine.

First off this little thing has been invaluable now that winter proper has arrived:
It's an industrial electric fan heater from Machine Mart. It's 'only' 3kW and doesn't appear to instantly make a cold garage warm, however, over time, it really does make a difference and has made the garage a much more comfortable working environment. However having the heater on for periods of the day is going to push up my electricity bill!

Whilst we're on the subject of equipment we also took delivery of our engine crane from SGS Engineering and we're very happy with it. We also got a load leveller.  It comes in 2 large-ish, heavy, boxes (the delivery man required assistance getting it off his van) and required assembly. It's vastly over-engineered for what we need, but due to the possibility of me rebuilding my classic Land Rover (needing the extra lifting height) and not knowing how a hired crane had been treated previously, we elected to purchase. Also with not knowing when exactly we will be installing the engine and gearbox we did not want to be beholden to a hire company neither.


Building the engine crane; big bolts and big pieces of metal!

Crane assembled.

Once the crane was assembled we finally managed to turn to our tasks: Firstly it was to fit the brake hoses, all seemed to go together pretty well. Just had to spend the time thinking through what piece goes where and how to orientate them so as not to foul the suspension throughout the full range of motion.

 
 Brake hoses fitted.

Next it was to start preparing the engine bay for the engine and gearbox installation. The assembly guide said to fit the horns, again no real dramas, crucial thing was to undo the nut at the top to rotate each horn so that the electrical connections can be fitted.

Horns fitted. Note electrical connections placed close together.

Also test fitted the washer bottle (removing it for engine installation), glad we did as the wiring that runs behind the bottle made fitting pretty difficult. After a bit of pushing and pulling it fit just fine, would not want to do that job once the engine plenum was in the way!

 Washer bottle test fitting, Note to self; must remove for engine installation.

In order to protect the chassis tube I bought 3 lengths of foam pipe lagging from a local builder's merchants and cut them to length covering the chassis tubes (although it wasn't quite enough in the end).

Foam pipe lagging to protect the chassis tubes.

Dad got on with covering any potentially vulnerable areas with bubble wrap, maybe a bit overkill however, with not really knowing what to expect, better to be safe than sorry!

All wrapped up (a bit too well Dad?)

We also fitted the engine mounts, easy in principle but not in reality. Let me put it this way, I needed my Dremel. As you can see from the picture below there was excess weld on one of the chassis junctions which wasn't allowing correct positioning of the engine mount rubbers.

Too much weld around joints preventing engine mounts from aligning correctly

My Dremel set has a small grinding disc and managed to whittle away the weld just enough for the engine mounts to fit. Great piece of kit (if you don't have one I recommend you purchase one, especially if you're going to be building a Caterham!). I've primed the bare metal and will paint it black once it's dry.

Excess weld removed, now to prime, then paint.

Test fit, looks good! Note grey primer prior to painting.

Next task to fit these two together: