Today was a GOOD day, the Engine and Gearbox is in and fitted to the car!
It took all afternoon but we're pleased everything fit (more or less) however we have some tips for those of you who are reading this who are in the process of building your own Caterham. The manual is quite non-specific/bitty about what you need to do to be able to fit everything, however if you have a Duratec engine (into a SV chassis) we would recommend that you remove the following:
- The RH Engine mounting bracket; (i.e. the longer of the two mounts), means you can get past the right hand top rail of the chassis.
- Washer bottle; allows the left mount to drop vertically onto the chassis, (you can leave the bracket, easily out of the way).
- Alternator; (allows the block to pass by the the left side cruciform on the top of chassis)

Alternator and belt removed
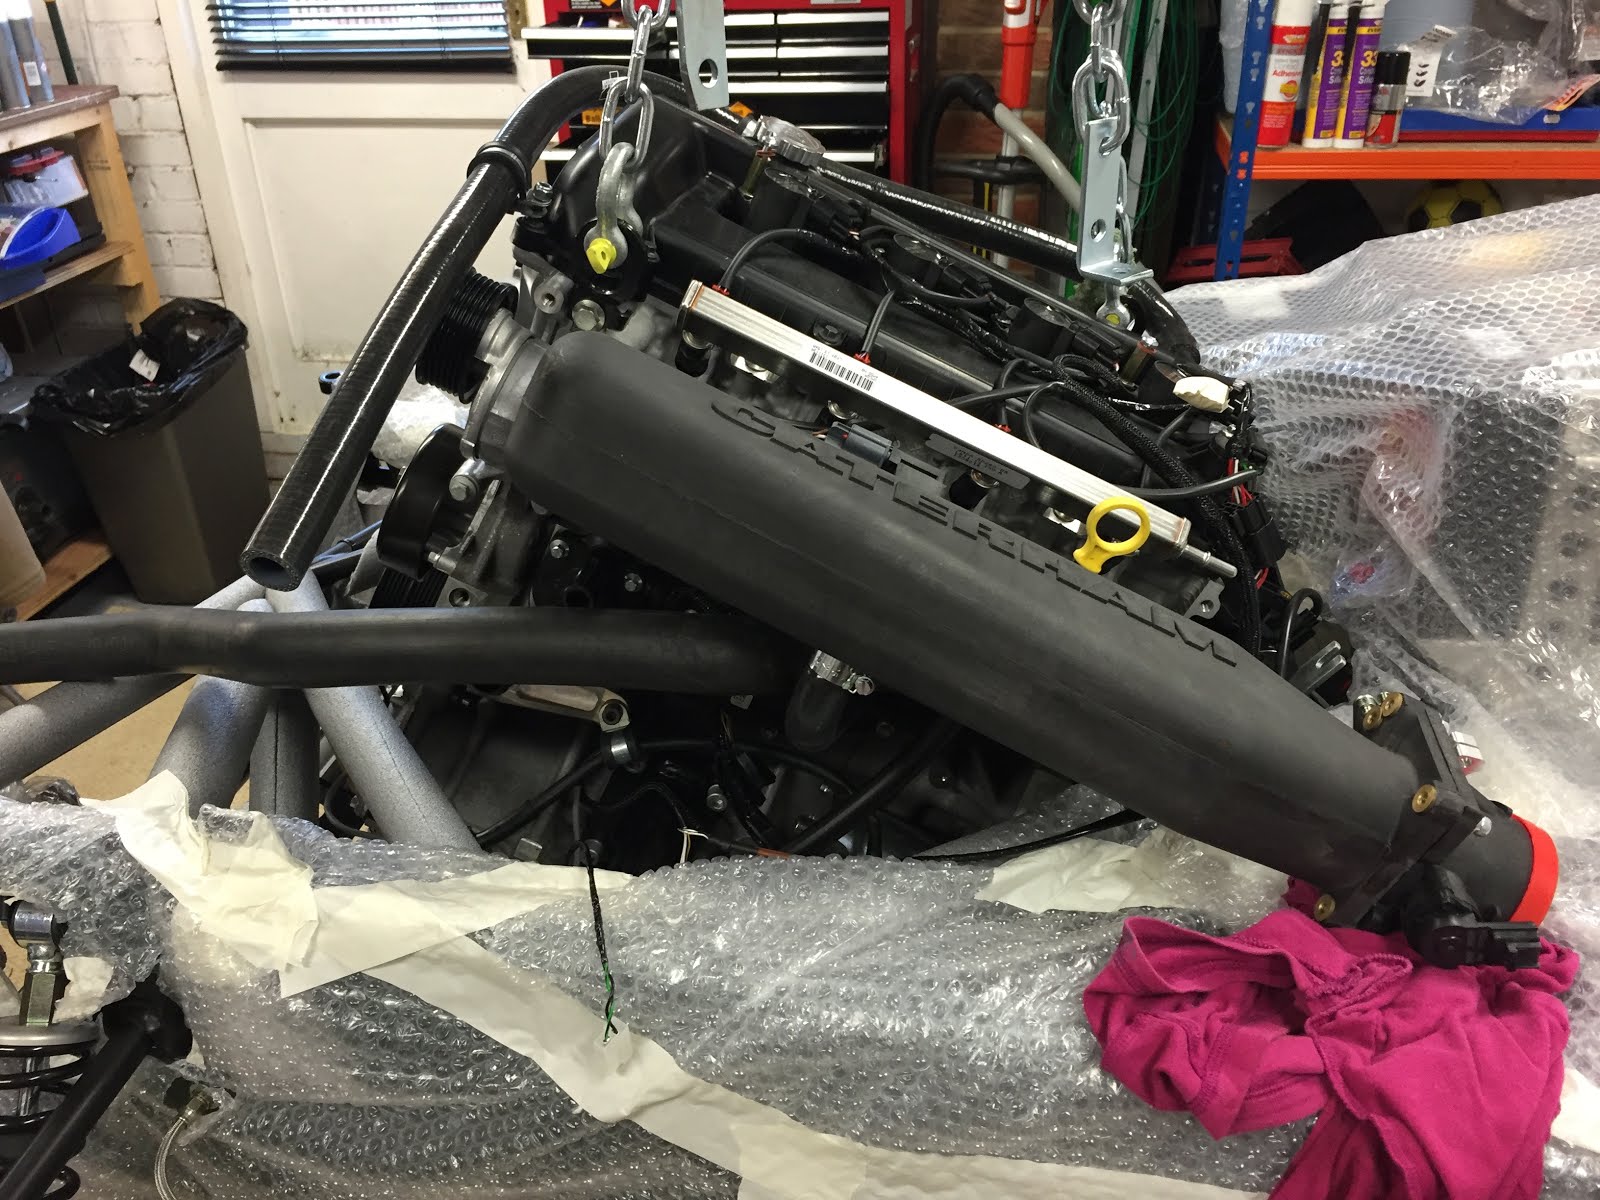
We spent a little time testing the load leveller (from SGS engineering), seeing what angles we could get out of it. As stated previously, when we pitched the engine up (gearbox down) the engine would roll also, due to the position of the lifting eyes being diagonal on the engine (see below) causing the centre of gravity to not only shifting down the long-axis of the engine but also laterally axis the engine.

Right, let's get started...
From looking at this blog: http://caterham420r.blogspot.co.uk/ (thanks for the tips chaps!) we also wrapped the gearbox in some bubble wrap (got a big roll from eBay - more useful than you think!), just to protect the transmission tunnel as much possible.

So far so good!

Ask us why we know why you have to remove the right hand mounting bracket and washer bottle...
Using a rag to protect the top of the passenger foot box from the plenum intake.

View from under the transmission tunnel.
To help pitch/rotate the engine to a level position (in order to align with the chassis mounting rubbers), we used a hydraulic jack and some wood under the gearbox.

After using the engine crane to help level the engine.

In!
We didn't have the correct set screw or bolts for the chassis cross-member yet, still on their way from Derek, however we found some temporary ones that will do the job in the meantime. There was a lot of 'to me, to you' involved, however we are very pleased with the results.
Here is the obligatory time-lapse video!
No comments:
Post a Comment